
Archaeologists study ancient peoples and civilizations through the excavation of ancient inhabited sites. But how does an archaeological dig work? If you were to volunteer on an archaeological dig, what should you expect? Perhaps you’ve seen action movies such as the Indiana Jones series. Indy finds the ancient treasure, punches the bad guy, kisses the girl, and emerges triumphant from the shambles of the ancient temple that had survived in pristine condition until he found it. Or, maybe you have a very different idea of archaeology, formed by watching documentaries in which the archaeologist uses a fine-tipped paintbrush to meticulously remove the dirt from a buried artifact.
The truth about archaeology lies somewhere between those two ends of the spectrum. Archaeologists seek knowledge, not treasure. This article will explain how an archaeological dig works from the perspective of a volunteer on a dig. Excavation practices may vary slightly between archaeologists. The protocols described below are based on the Associates for Biblical Research (ABR) excavation at Tel Shiloh.
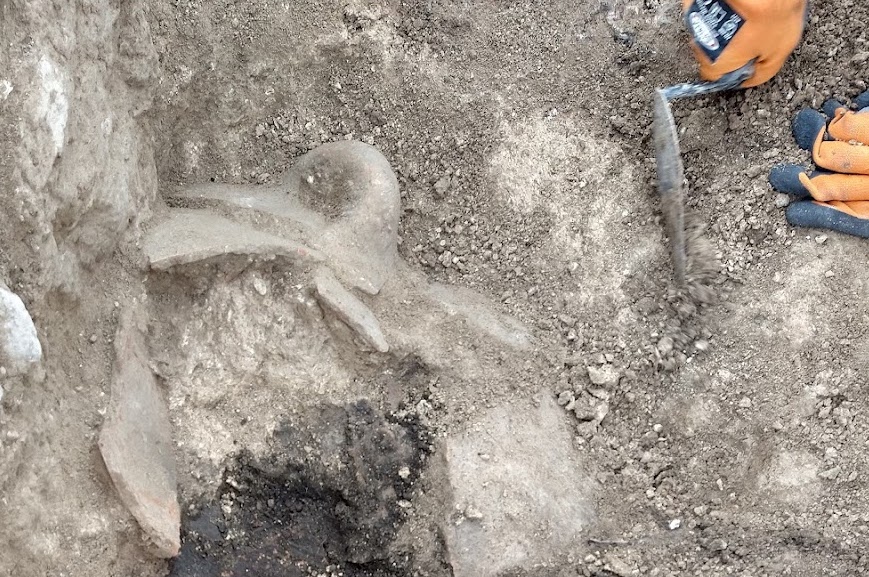
So, let’s say you’ve signed up to volunteer on a dig. You’ll arrive at your hotel or guesthouse and meet the other people on the team. The head archaeologist is the dig director. There are several other staff members including square supervisors, who supervise small teams of volunteers; registrars, who keep a database of all the artifacts found on the dig; and a photographer. There are also a number of other volunteers, who make up the workforce. You’ll be assigned to a team consisting of a Square Supervisor and five or six volunteers. But this isn’t where a dig actually begins.
Planning the Dig
Even if you are part of the very first dig season at a site, a lot of work goes into planning the dig long before the first day of excavations.
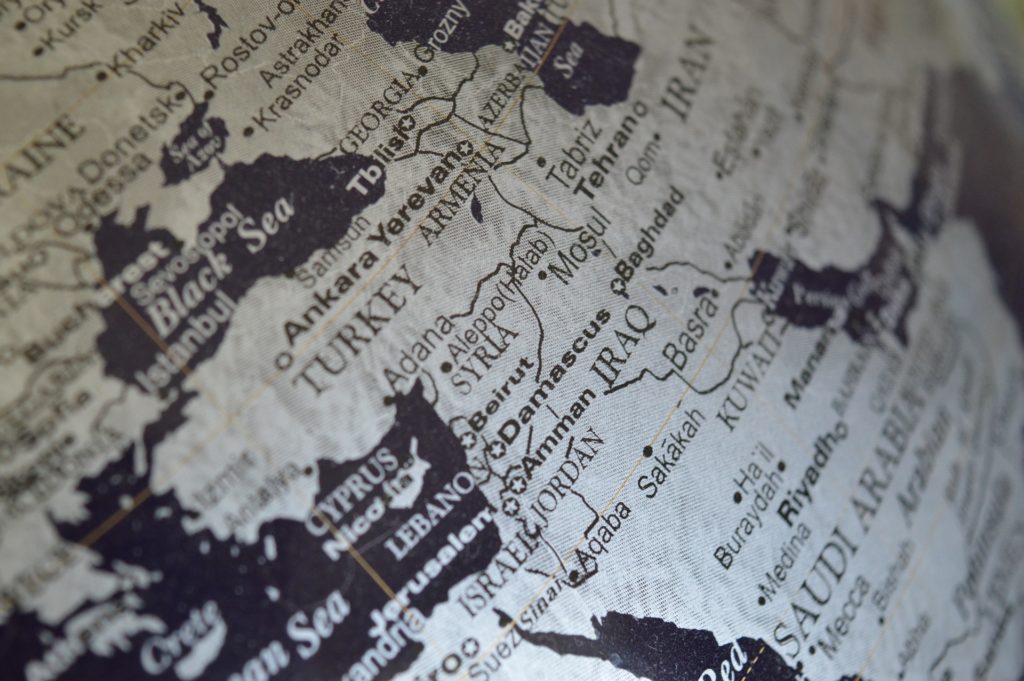
The first step in conducting an archaeological dig is to decide where to dig. Typically, this depends on the archaeologist’s research topic. This might focus on a time period, a cultural group, a historical event, or a region. For example, ABR is interested in sites that played a role in the biblical account of Joshua’s conquest of Canaan.
The archaeologist will study ancient sources, which often provide clues regarding the location of a site. Additionally, past archaeologists and explorers have conducted regional surveys which provide helpful information for finding a site. Often, archaeologists personally survey areas of interest. They pick up pottery sherds from the surface to get an idea of what they will find at that site.

Once the archaeologist has selected a site, there is a lot of work to do before excavations begin. Conducting an excavation is expensive, so funding is important. Sometimes, universities will fund digs conducted by their faculty members. Some archaeologists must raise funds by recruiting donations. Excavations also require laborerers. If there is sufficient funding, it is often possible to hire local workers. Other options are to recruit volunteers or bring students to work on the dig.
The final pre-dig task is to obtain an excavation permit. The archaeologist will submit a proposal to the government in charge of the area. It explains the excavation plan, the reason for excavating, and demonstrates the archeologist’s ability to fund the excavation. It also provides a projected timeline for the project.
Digging
Once everything is lined up, the archaeologist can plan the first season of excavations. Typically, excavation seasons occur annually in the summer. They last for two to four weeks. This may not seem very long, but it will keep the archaeologist busy for the rest of the year. They’ll continue to process the finds and prepare for the next dig season.
Setting up the Square
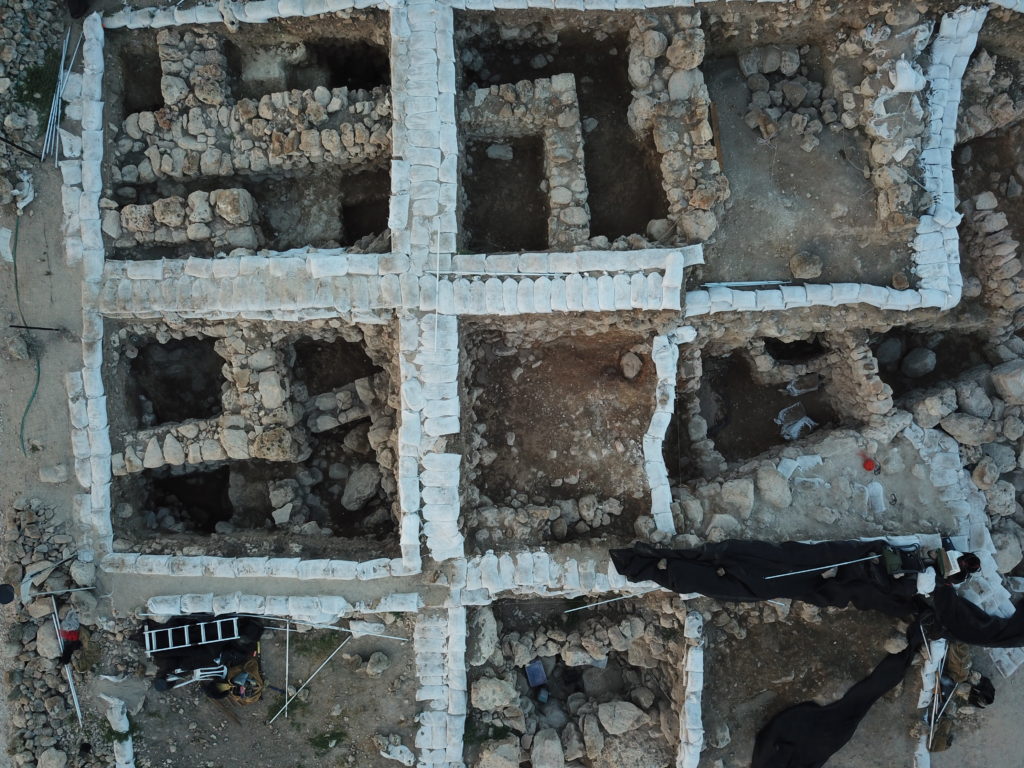
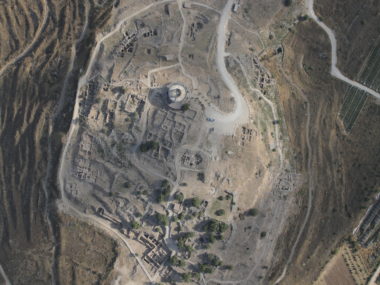
Using a high-quality aerial photo or map of the site, the archaeologist divides the entire site into five-by-five-meter squares. Depending on the size of the team, the archaeologist is typically able to excavate multiple squares in one season. He or she may select random squares in order to explore various areas at the site. However, there are often architectural remains visible on the surface which help the archaeologist select areas of interest. A surveyor finds the exact borders of each selected square. Then, he places stakes in each corner and runs string around the perimeter of each square. The archaeologist assigns a square supervisor and a team of workers to each square.
Now, it is finally time for the first day of digging. Archaeologists get an early start on the day to beat the heat. Breakfast is at 4:30, and the team arrives at the digsite as the sun is coming up.
The first task is to clear the surface of the square. This typically involves removing weeds, trash, small stones, and the top layer of soil and rubble. Once the surface debris is gone, the real archaeology can finally begin. The square supervisor opens a locus for each area in the square. For example, loci (plural of locus) can represent soil layers, walls, or pits. The team excavates a four-by-four-meter area, leaving a one-meter balk on the north and east sides of the square.
Excavating the Square
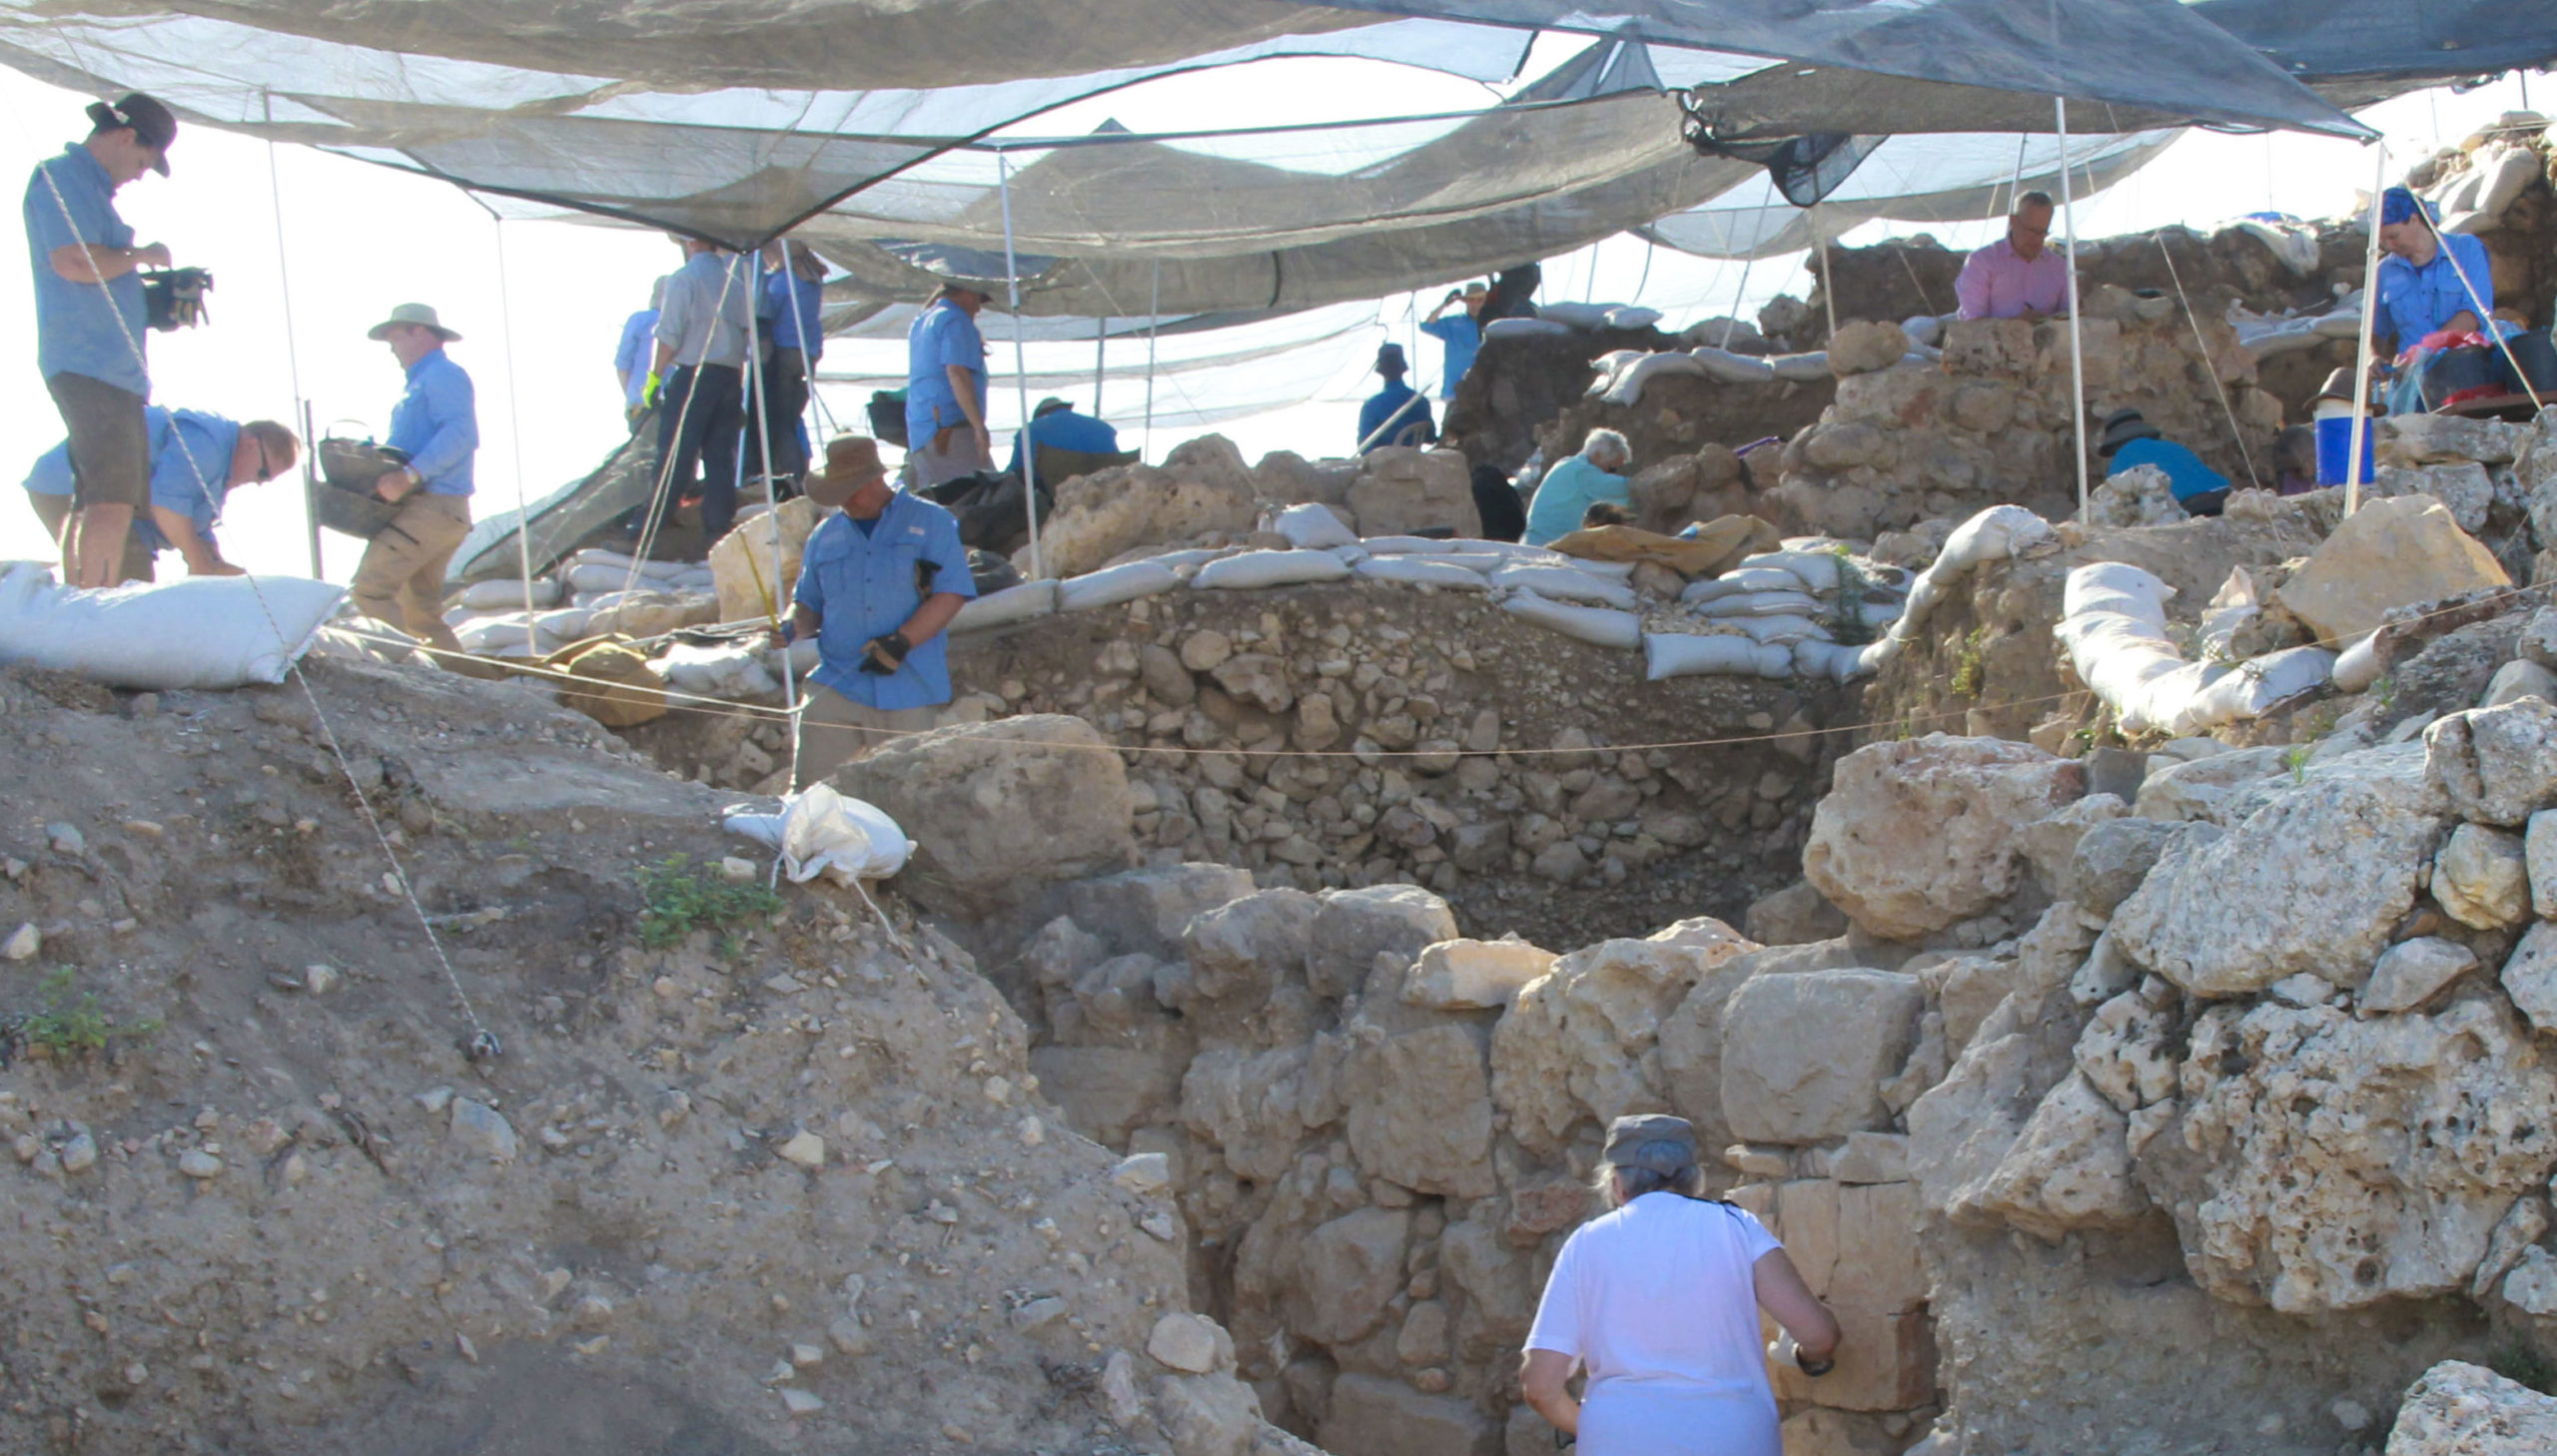
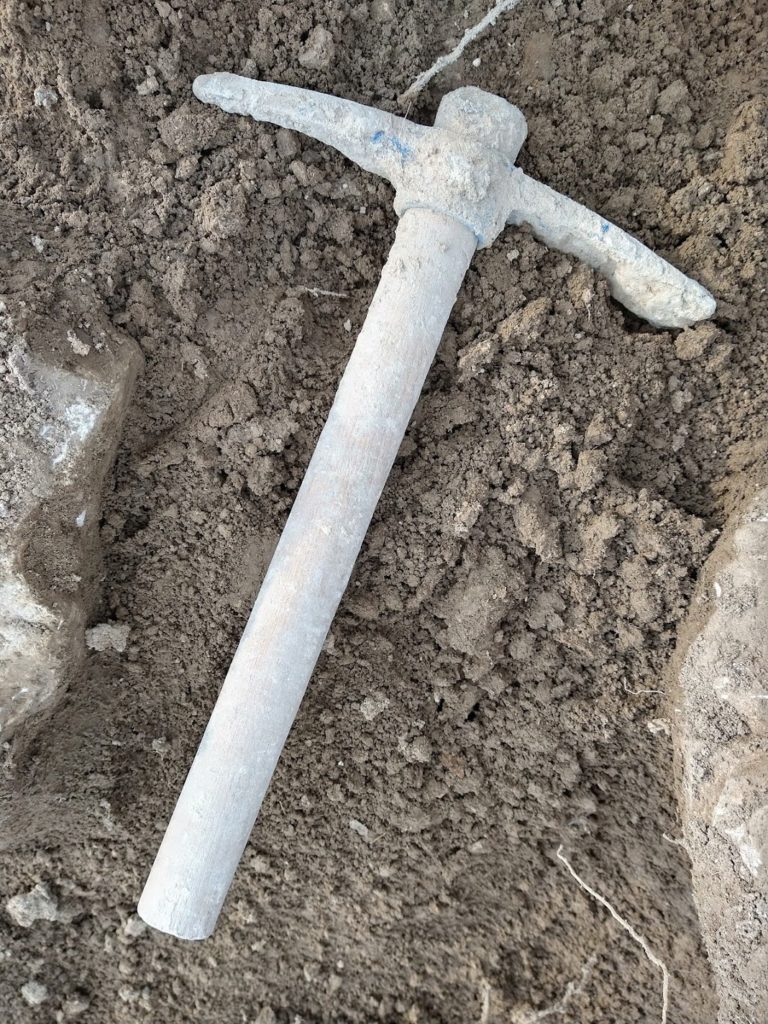
The nature of the area you are excavating will determine what types of tools you’ll use. It is common to break up the soil using picks when working in agricultural fills that contain very few artifacts. While working in delicate archaeological contexts, you’ll typically opt for hand picks and masonry trowels.
As you dig, you’ll remove the soil evenly across the entire square rather than digging holes here and there. You’ll leave walls in place as you discover them. When you encounter a large stone, you should leave it in place until you have removed the dirt surrounding it. This helps prevent the accidental removal of stones that are part of a wall. The square supervisor keeps meticulous records of the progress of the dig. He or she also creates a top plan and keeps it up to date. The top plan is either a hand-drawn plan or an aerial photo

When you discover organic materials, such as seeds, wood, bones, or charcoal, you should save them as samples. Additionally, the square supervisor takes a half-pail of soil from each locus and performs flotation on it. This involves pouring water into the pail and stirring it into the soil. Organic materials typically float, so whatever floats to the surface is poured off through a screen and saved. This allows the team to keep samples of very small seeds and other organic materials that would ordinarily go undetected. The archaeologist determines which samples are from important contexts and takes them to a lab for testing. This includes Carbon-14, DNA, or Neutron Activation Analysis.
Each day, the square grows deeper and deeper as you and your teammates excavate it. The excavation of the square is not complete until you reach bedrock. At this point, you can dig no further. The depth of the square can vary greatly. In some instances, bedrock lies only inches below the surface of the soil. In other cases, there can be dozens of meters of archaeological material between the surface and the bedrock.
What You Might Find
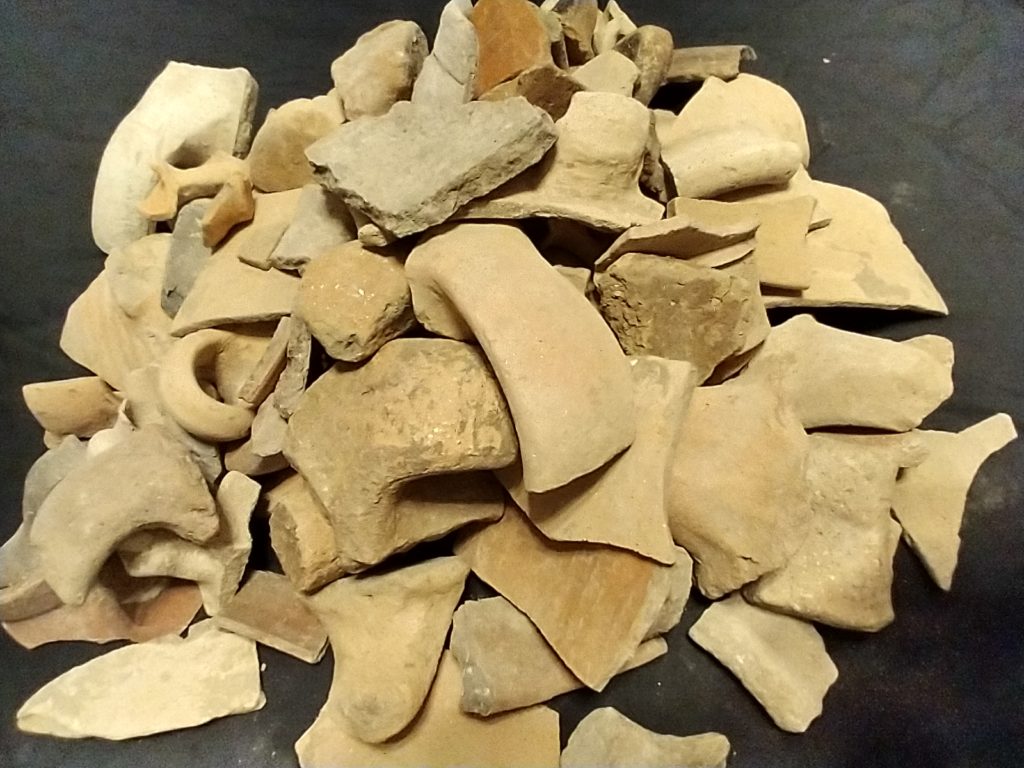
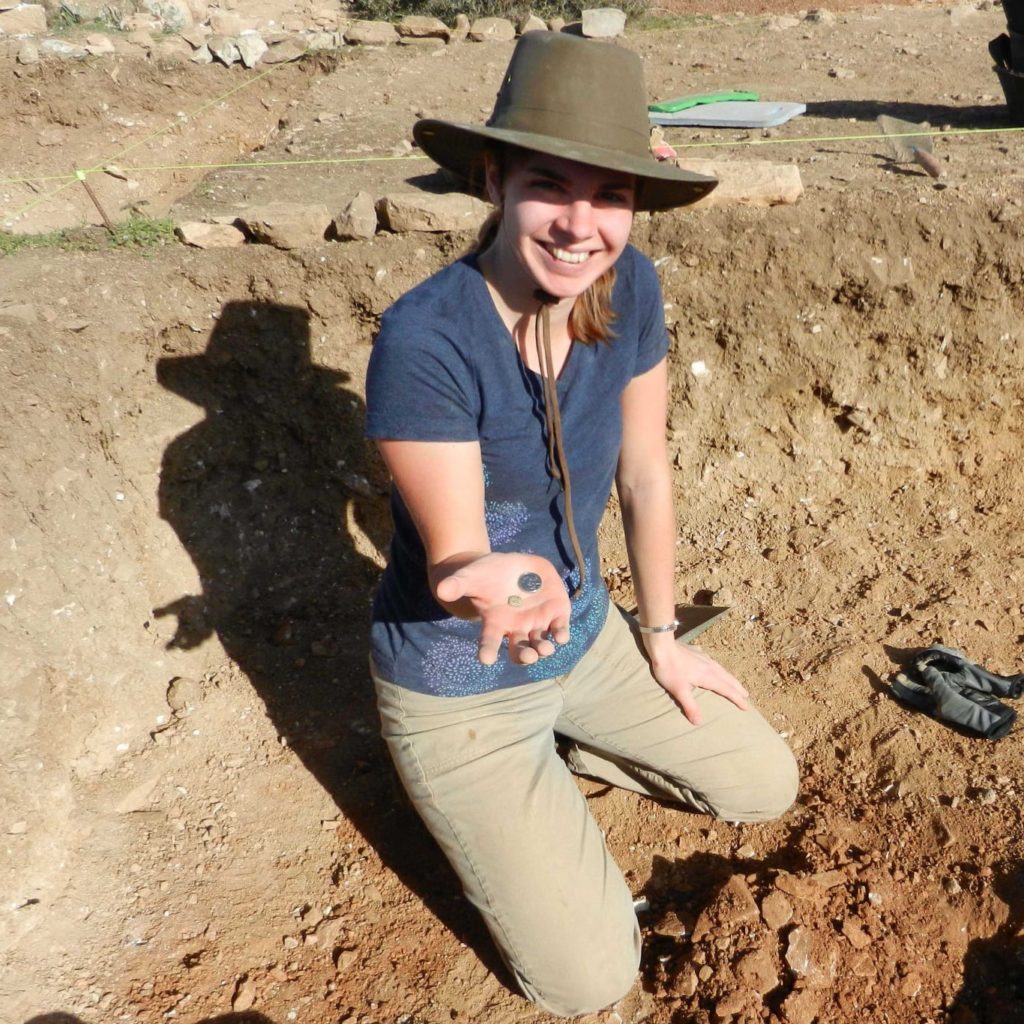
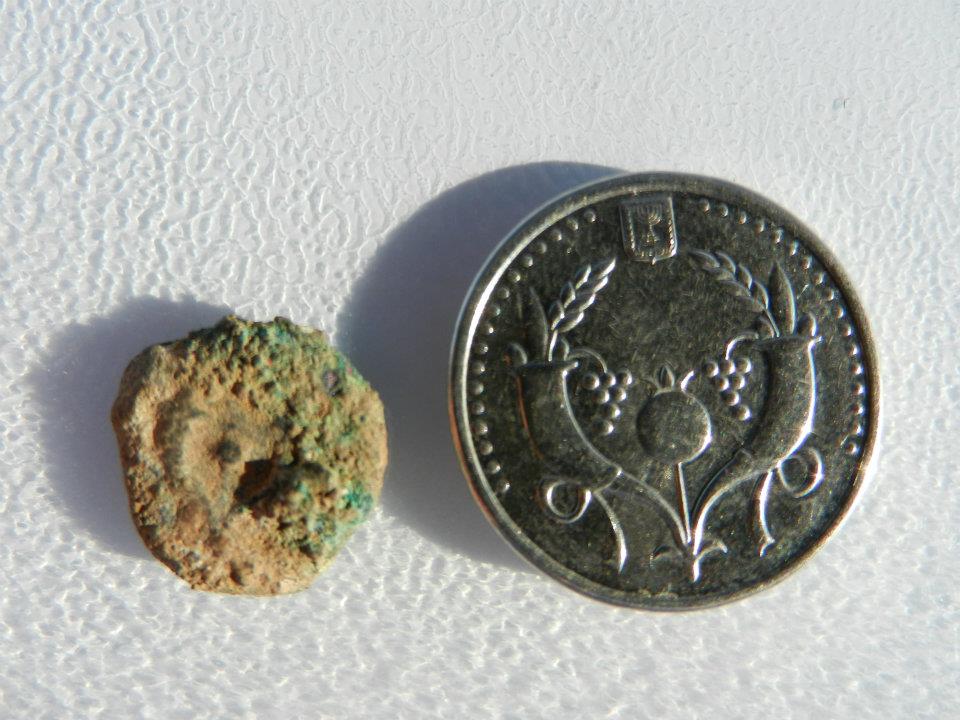
As you dig, you’ll look for artifacts. The most common archaeological finds are pottery sherds. For each locus, the square supervisor provides a pail in which to collect sherds. He or she saves and records all other objects individually. These can include tools, weapons, coins, jewelry, and glass. Most archaeological finds are broken pieces of artifacts. It is rare to find complete artifacts other than small items such as coins and scarabs.
In addition to looking for artifacts while you dig, you and your teammates will also check the soil twice more before dumping it. First, you’ll dry sift it. This involves pouring the soil over a screen, shaking it so that the loose soil falls through. You’ll check the remaining rubble for artifacts. Next, you’ll take the material to the wet-sifting station. There, a wet-sifting team will spray water over the rubble, washing away the dirt that may have obscured artifacts. They carefully examine the material one last time to make sure that they have not missed anything.
Processing the Finds
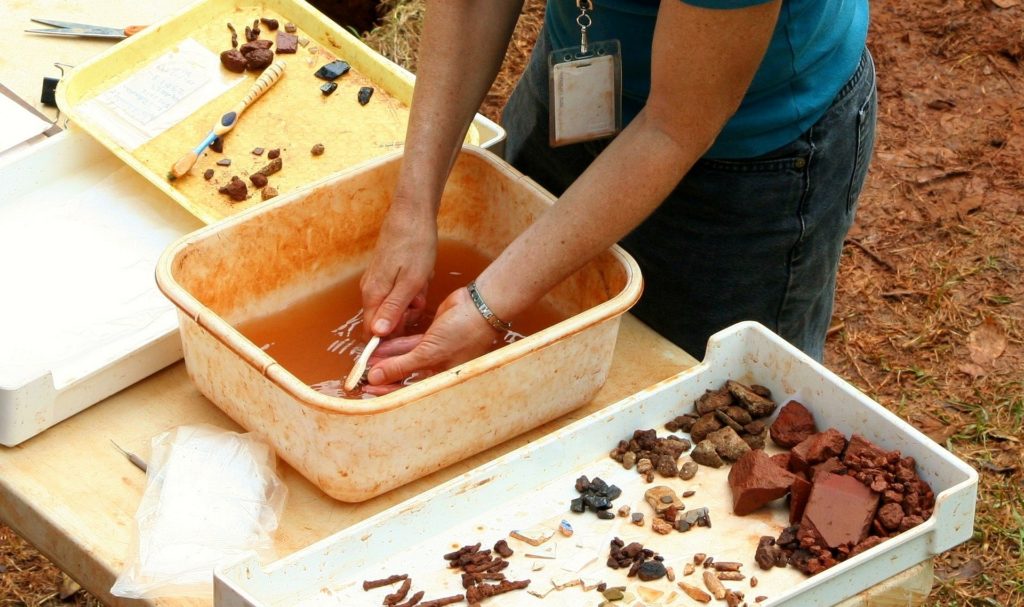
The workday ends around 2:00 PM. At the end of each day, each team washes the pottery from its square. You and your teammates will fill each pottery pail with enough water to cover the pottery, and you’ll carefully scrub every surface of each sherd. The pottery dries overnight.
Meanwhile, it is time for the team to head back to their lodging place. You’ll want a shower, and probably a nap. If you’re feeling adventurous, the afternoon is a good time to go out and explore. Then, it’s time for dinner, and some archaeologists offer after-dinner lectures. Most team members head to bed early in order to get a good night’s sleep before the next early morning.
The next day, the archaeologist reads the pottery. Just as car enthusiasts can easily tell the difference between a vehicle from the 1960’s and one from today, archaeologists who have studied the typology of pottery can determine the time period of each sherd. The team’s pottery registrar keeps a record of the results of the pottery reading. After reading the pottery, the archaeologist selects a small percentage of the sherds to save for publication. An artist creates a cross-section drawing of each of the publishable sherds.
The team’s objects registrar takes charge of all non-pottery finds. He or she records the exact location where the team found each object and provides a detailed description of it. The team’s photographer takes photographs of every object and an artist draws selected important finds.
At the end of the dig season, the dig staff carefully boxes up all the pottery, objects, and samples and takes them to the Antiquities Authority, where the artifacts remain in storage.
At this point, you’ll head back home, probably a bit tired and sore from digging, but with lots of good memories. For some volunteers, a dig is a once-in-a-lifetime opportunity. Others come back year after year. Those who return regularly often end up training to become staff members.
Finishing the Dig
Although the volunteers are done at the end of the dig season, the archaeologist still has a lot more work to do. The process of archaeology destroys layers of earth at the site. The location where the artifacts were found is lost. Because of that, it is important to keep a careful record of the excavation. It is also important to publish the excavation promptly. Other researchers will want access to that information as soon as possible.
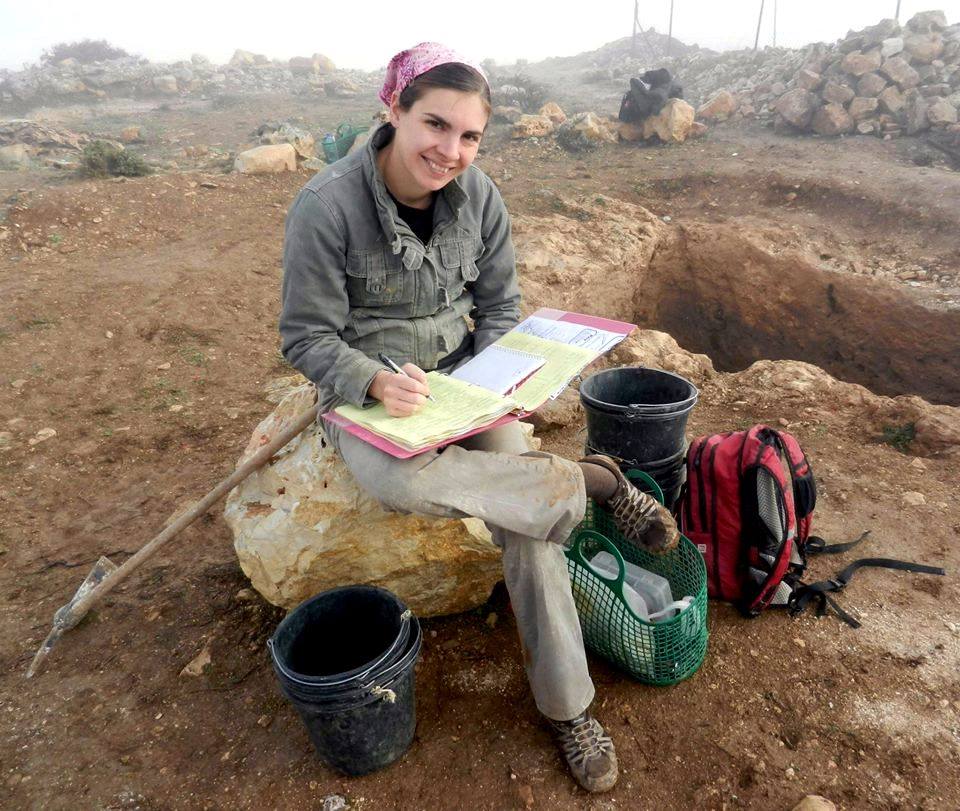
As soon as the excavation season ends, each square supervisor writes a square report. It includes a detailed description of the architecture, pottery, and objects found in that square. The archaeologist compiles the square reports into an annual excavation report. These annual reports are not usually published. However, they do provide the basis for a preliminary excavation report that the archaeologist writes and publishes every three years or so.
At some point, the dig comes to an end. Some excavations last for a few years, others for decades. Usually, the dig ends either because the archaeologist has obtained the information that he or she wanted from the site or because it is clear that the site will not yield that information. It is good archaeological practice to stop digging before the site has been completely excavated. This leaves a portion of the site for future archaeologists. With advancements in technology, they might be able to learn more by excavating than is currently possible.
Publishing the Dig
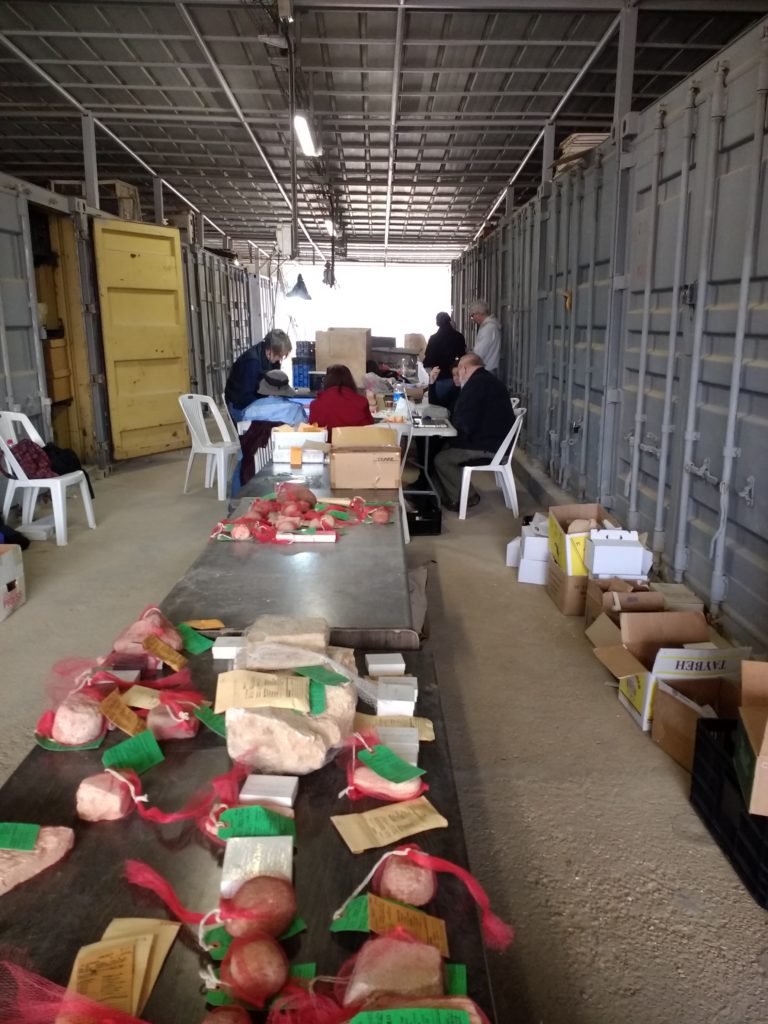
As soon as the dig ends, the archaeologist must begin working on a final publication. Most archaeologists will bring in experts to write chapters on various topics. A numismatist will write the chapter on coins, while a ceramicist will write the pottery chapter. A zooarchaeologist will write the chapter on bones. An architect will draft final plans of all the walls and structures at the site.
Once the final publication is in the hands of the publisher, the archaeologist’s work is done. However, the study of that site is only beginning. Once the site is published, other archeologists can weigh in, providing alternate interpretations and offering different perspectives based on their expertise. The finds from that site will be compared with finds from other sites, and may re-shape previously-held views and assumptions. Each site that is excavated and published adds to the corpus of information available to archeologists. This helps them better understand the history of human civilization.
Want to Dig?
You can sign up to volunteer on a dig:
Glossary
- Balk: The un-excavated areas on each side of an archaeological square
- Bedrock: The solid rock layer beneath the soil on the earth’s surface
- Locus: A defined area in an archaeological excavation. This could be, for example, an earth layer, a wall, or a cistern
- Object: Any artifact, other than pottery, found on an archaeological excavation
- Sample: A piece of organic material such as charcoal or seeds saved for scientific testing
- Scarab: A beetle-shaped seal, often bearing the name of the owner
- Sherds: Broken pieces of pottery
- Square: A 5 x 5 meter excavation area on an archaeological dig

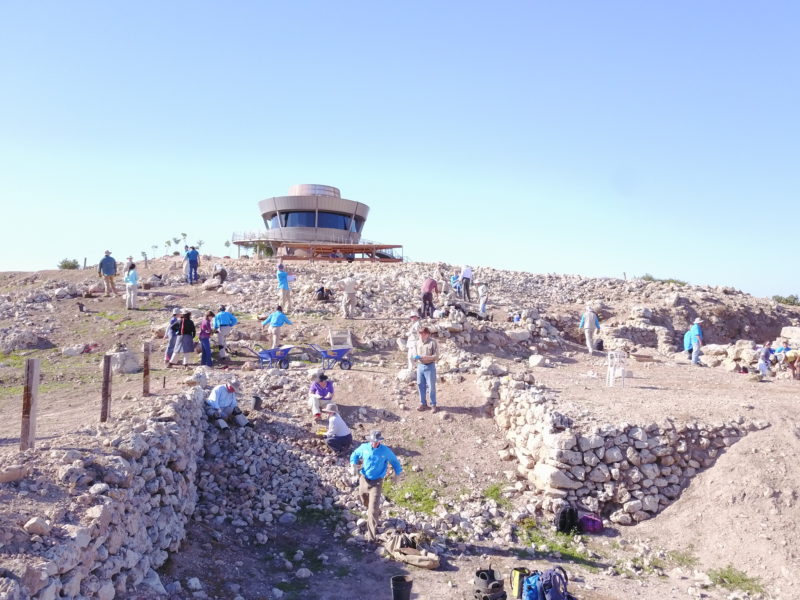




Thank you for your enlightening article! In my younger years, I found biblical archaeology fascinating and would have loved to participate in a dig. It didn’t happen and now I’m past 70 and a caregiver. But I’m still interested. You provided a good step-by-step explanation of what happens on a dig. I have one question: After the dig has ended, is the soil replaced? Is the land restored? I didn’t see that in your account.
Hi Donna,
We often have volunteers in the 70s and 80s join us on the excavation. You asked a great question. What happens after the dig can vary depending on the situation. Some sites are turned into tourist parks, where the archaeological remains are left exposed and sometimes even restored. In other cases, the site is backfilled and used for farming or other purposes.
Thank you for the info. Very helpful for Bible study.
Thanks!
Awesome article – bringing the professionalism and scientific discipline into perspective for biblical archaeology.
Keep it up and publish more for the other scientific endeavors.
Hi Leland,
Thanks for your comment. I’m glad you enjoyed the article. Perhaps some of my fellow blog writers will write similar articles regarding their scientific branches.
Thanks for the detailed article Abigail! Very interesting!
Hi Pascal,
I’m glad you enjoyed it.
Thank you. This was very helpful. We will see you at the dig site week 1 and 2.
Hi Elmer, I’m glad you found it helpful! I’ll look forward to seeing you at Shiloh.
Thank you Abigail! I love you amazing archeologists! Due to y’all’s research, I was drastically transformed by research many had done on the valley of Ben Hinnom (Gehenna). In particular, that research helped me in my research as to why the love of so many had grown cold and continued to grow cold over the last 2000 years (Matt 24:10-12 and many other scriptures). Over the past 40 years my conclusions have allowed us to be used by Papa God internationally to teach and express His Love to so so many people on so many levels! Your research is vital to us my dear friend (Habakkuk 2:14)
This artical was veary helpfull for a school presintataion of mine.